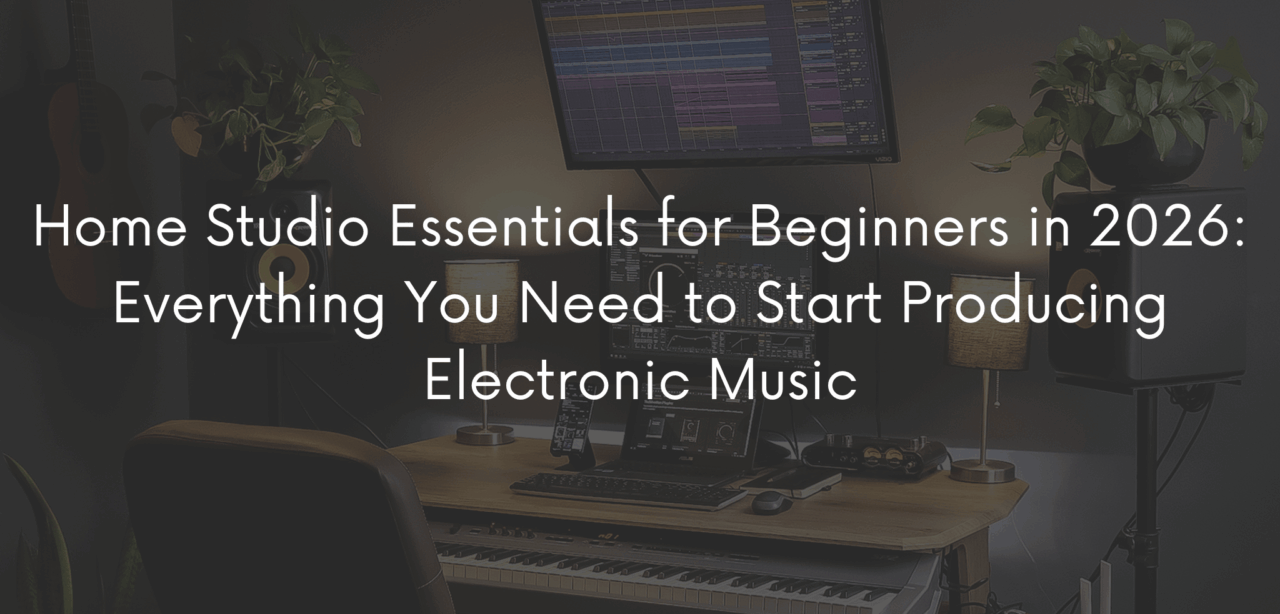
Home Studio Essentials for Beginners in 2026: Everything You Need to Start Producing Electronic Music
Why every beginner can afford a professional home studio in 2026
Ten years ago, building a home studio capable of producing music at a professional level meant investing thousands of dollars in hardware, acoustically treated rooms, and gear that was hard to source. That’s no longer the case today.
In fact, music production has become largely “in the box”: most of the creative work — from sound design to mixing — now happens inside the computer, with minimal hardware investment. As a result, the barrier to entry has dropped drastically.
One myth is worth debunking right away: you don’t need thousands of dollars to start. With a modest budget, focused choices, and a few early compromises, you can put together a setup that lets you write, produce, and release your music right away. The trick is knowing what actually matters and what you can safely postpone.
The computer: minimum requirements for producing electronic music
The computer is the center of your home studio, so it’s worth choosing carefully — but that doesn’t mean buying the most expensive machine on the market.
RAM, CPU, and storage — what actually matters
For starters, aim for at least 16 GB of RAM: it’s the minimum for working with projects that use several virtual synths and plugins without slowdowns. The CPU, meanwhile, matters more than the graphics card—a recent mid-range processor comfortably handles sessions with 20-30 tracks. As for storage, an SSD is close to mandatory, since it speeds up sample loading and cuts saving times, which quickly become a frustrating bottleneck on a traditional hard drive.
Mac vs Windows for music production
It’s one of the oldest debates in the industry, yet the truth is the difference today is mostly a matter of habit. Mac offers stability and excellent hardware-software integration out of the box, while Windows offers more configuration flexibility and generally a better performance-to-price ratio. If you’re already comfortable with one of the two, stick with it: the time you’d spend relearning an entire ecosystem is worth more than any marginal technical difference.
Choosing your DAW as a beginner
The DAW (Digital Audio Workstation) is the software where you’ll write, arrange, and mix your music in your home studio. Since you’ll spend hundreds of hours in it, this is arguably the most important choice in your entire setup.
Ableton Live vs FL Studio vs Bitwig — pros and cons for beginners
FL Studio has a very intuitive interface for those coming to production from beat-making, with a pattern-based workflow that makes it immediate for studio work. Bitwig, on the other hand, is the most technical of the three, valued for its advanced modulation and sound design capabilities but with a steeper learning curve that suits producers who already have solid fundamentals. Ableton Live strikes a rare balance between studio production and live performance, thanks to Session View, which lets you improvise musical ideas in real time alongside one of the most robust MIDI and automation infrastructures on the market.
Why Ableton Live is the best pick if you also want to perform live in your studio
If your goal isn’t just studio production but also taking your music live—DJ sets, live PA, and hybrid performances—Ableton Live is the industry’s de facto standard. Session View was built exactly for that purpose, so learning the DAW you’ll also use on stage saves you a double learning curve.
Audio interface: the heart of your setup
The audio interface converts audio signals from digital to analog and back, which makes it the component that most directly shapes what you actually hear—and therefore the decisions you make while producing.
Latency, I/O, and drivers—what to check before buying
Three parameters matter most here: latency (the delay between when you play or sing and when you hear it—lower is better), number of inputs/outputs (2 inputs are enough to start), and driver quality (especially on Windows, where unstable drivers cause crashes and sync issues). Rather than being tempted by interfaces with more I/O than you’ll use, it’s usually smarter to invest the saved budget elsewhere.
Beginner-friendly interfaces by price range
At the entry tier ($80-150), look at 2-in/2-out interfaces from established brands like Focusrite or PreSonus—solid, plug-and-play, and perfect for starting out. Stepping up to the mid-tier ($150-300) gets you the same product families with better preamps and cleaner A/D-D/A conversion. Finally, the pro tier ($300+) offers more I/O and professional-grade componentry, which is only worth it if you frequently record acoustic instruments or vocals.
Studio monitors vs headphones for your: what you actually need at first
One of the most common questions for beginners is whether to start with studio monitors or headphones. Honestly, it depends on your environment.
When headphones are the smarter choice (and which to avoid)
Living in an apartment with no way to acoustically treat the room makes headphones the more realistic choice, since they completely remove the problem of room acoustics. That said, the key is avoiding “consumer” headphones designed for listening pleasure (often with boosted bass) and choosing flat-response studio models built for monitoring, not enjoyment.
Entry-level monitors that don’t lie to you about your mix
For anyone with even a small dedicated room, studio monitors remain the better choice for accurate mixing over time, since they let you hear stereo width, spatial cues, and low frequencies in a way headphones can’t replicate. On that note, I recently reviewed the Palmer ORBIT 11, a solid entry-level option for anyone looking for an honest monitor without breaking the bank—full details in the dedicated article.
MIDI controller and keyboard: your instrument
The MIDI controller is your instrument — it’s where musical ideas take physical shape.
Keyboard controller vs pad controller—matching the tool to your style
For a more melodic or harmonic approach (chords, arpeggios, melodies), a keyboard controller with 25 or 32 keys is more than enough to start. On the other hand, if your style leans rhythmic and sample-based, a pad controller gives you more natural control over beats and sample triggering. Many producers end up owning both, but to start, simply pick whichever matches how you “feel” the music you want to make.
Cables, stands, and accessories nobody tells you about
The invisible accessories checklist that saves a session
This is the least exciting part of your gear list, yet skipping it ruins more sessions than you’d think. Spare TRS/XLR cables are worth having on hand, a monitor stand genuinely changes your sound by putting monitors at the correct height, a pop filter helps if you record vocals, and a surge-protected power strip avoids annoying electrical hum during monitoring.
Basic acoustic treatment on a budget
DIY panels vs entry-level acoustic kits
Soundproofing an entire room isn’t necessary to start mixing decently. A few absorption panels placed at first-reflection points—beside your position, behind the monitors—significantly reduce unwanted tonal coloration. For a quick start, entry-level kits under $100 cover the essentials; alternatively, if you’re handy, DIY solutions with polyester fiber panels can give surprisingly good results.
Monitor placement — the equilateral triangle rule
Here’s the most effective free trick out there: Position your two monitors and your head to form an equilateral triangle, with tweeters at ear height. This one simple adjustment improves stereo imaging more than almost any low-budget hardware upgrade.
Essential plugins and virtual instruments to get started
The minimum kit—EQ, compressor, reverb, synth
Dozens of plugins aren’t necessary to start producing—the minimum kit is a good EQ, a compressor, a quality reverb, and at least one versatile virtual synth. On that front, I’ve written an in-depth guide on Massive X, a synth that on its own covers most sound design needs for electronic music production.
Free plugins that hold up against paid ones
Most DAWs already include excellent stock plugins; Ableton Live, in particular, has native EQs, compressors, and reverbs that hold up well against paid alternatives. Given that, the golden rule for beginners is to master the tools you already have before buying new ones. It’s tempting to stockpile plugins, but that’s rarely what actually improves your productions.
Real budgets: 3 setups compared
| Entry Setup (~$550) | Mid Setup (~$1,600) | Pro Setup (~$4,300) | |
|---|---|---|---|
| Computer | Existing/used laptop | Recent mid-range laptop | High-end laptop/desktop |
| DAW | Intro/base version | Standard version | Full Suite version |
| Audio interface | Entry 2-in/2-out | Mid-range | Multi-input pro |
| Monitors/Headphones | Studio headphones | Entry-level monitors | Monitors + reference headphones |
| Controller | 25-key mini keyboard | 49-key keyboard + pads | Full pro controller |
| Estimated total | ~$550 | ~$1,600 | ~$4,300+ |
Here’s the key point: the entry setup isn’t a “second-tier temporary compromise” — with this gear you can produce and release genuinely professional-quality music. Later upgrades simply improve your working experience; they don’t single-handedly determine the quality of your music.
FAQ
How much does a home studio really cost from scratch? Around $550, excluding the computer (which you often already own), gets you a complete, functional entry-level setup: DAW, audio interface, studio headphones, and a small MIDI controller.
Do I need acoustic treatment right away? Not necessarily — it helps but isn’t essential in the first few months. Working mainly on headphones means you can postpone it, whereas monitor users benefit from even free adjustments (like triangle placement) before investing in panels.
Should I start with headphones or monitors? It depends on your environment: in an untreated room, studio headphones often give more reliable mixing results than cheap monitors in the wrong space.
Which DAW should I pick if I’ve never produced before? For anyone whose goal includes performing live, Ableton Live is the most natural choice, thanks to its integration between studio and performance. If your interest is studio production only, however, FL Studio offers the fastest learning curve.
Conclusion: what comes after the gear
The right gear gives you the tools, but it’s the method that turns those tools into finished music. So if you want to shortcut the learning curve and avoid the most common self-taught mistakes, the DJ/Ableton course in Vicenza and Thiene is built exactly for that — a guided path that starts from the fundamentals and gets you producing and mixing with confidence.
No Comments