Introduction
Every time someone asks me how I manage to finish a track in a reasonable amount of time, my answer is always the same: it’s not talent, it’s method. My Ableton Live workflow for producing electronic music has been built over the years, session after session, mistake after mistake, and it has changed every time I’ve added a new piece of hardware or moved into a different genre.
A lot of producers just starting out think that having a precise workflow means “caging” their creativity, making the music feel mechanical or predictable. In fact, the opposite is true: having a well-structured workflow doesn’t get in the way of creativity—it gives you more room for it. Once you no longer have to worry about how your tracks are organized, where you saved that particular sample, or which routing to use for sidechain, all the mental energy you save can go straight into making music.
In this article, I’ll take you through my setup, the template I use as a starting point for every new project, how I record synths and samples, and some of the everyday tricks I rely on to stay focused and avoid wasting time in Ableton Live. This isn’t a universal method — it’s mine, built around how I work as a producer, live performer and teacher — but you’ll find principles here you can adapt to your own studio, whatever your setup looks like.
My setup for producing with Ableton Live
Before I even open an empty project, the workflow starts with the hardware around me. Every piece of the setup has a specific role, and understanding that role is what lets you actually use it well instead of just accumulating gear without a clear purpose.
The computer is the engine: it has to handle plugins, audio tracks, samples and — in my case — routing to outboard hardware without stumbling. However, the audio interface is probably the most underrated part of the whole setup, so it’s worth spending a bit more time on it.
Why the audio interface is central
It’s not just “the box that gets sound out of your speakers.” The audio interface determines:
- Conversion quality, i.e. how faithfully the analog signal from your synths becomes digital audio (and vice versa).
- Latency, essential when you’re playing live from a MIDI controller or recording hardware in real time.
- The number of inputs and outputs, which decides how many synths, drum machines or microphones you can connect at once without constantly swapping cables.
- The ability to record external instruments with a clean gain level, free of background noise or clipping.
I use the Arturia AudioFuse 8Pre as my main interface in the studio, the MiniFuse 2 when I need something more compact or I’m working away from home, and the Teenage Engineering TP-7 whenever I’m recording outside the studio: field recording, quick sessions with hardware, sonic notes that I later import straight into the project.
| Setup element | Role in the workflow | Example use |
|---|---|---|
| Computer | Processing, project management | Running sessions with many audio tracks and plugins active at once |
| Main audio interface | AD/DA conversion, I/O | Recording an external synth into a dedicated audio channel |
| Portable recorder (TP-7) | Capturing ideas and field recordings outside the studio | Recording ambient noise to later turn into a texture |
| Studio monitors (Palmer ORBIT 11) | Critical listening and mix decisions | Checking low-end balance while arranging |
| Headphones | Detail work and working on the move | Sample editing, checking for unwanted noise |
| MIDI controller | Expressive input, performance | Playing chords or patterns directly into Session View |
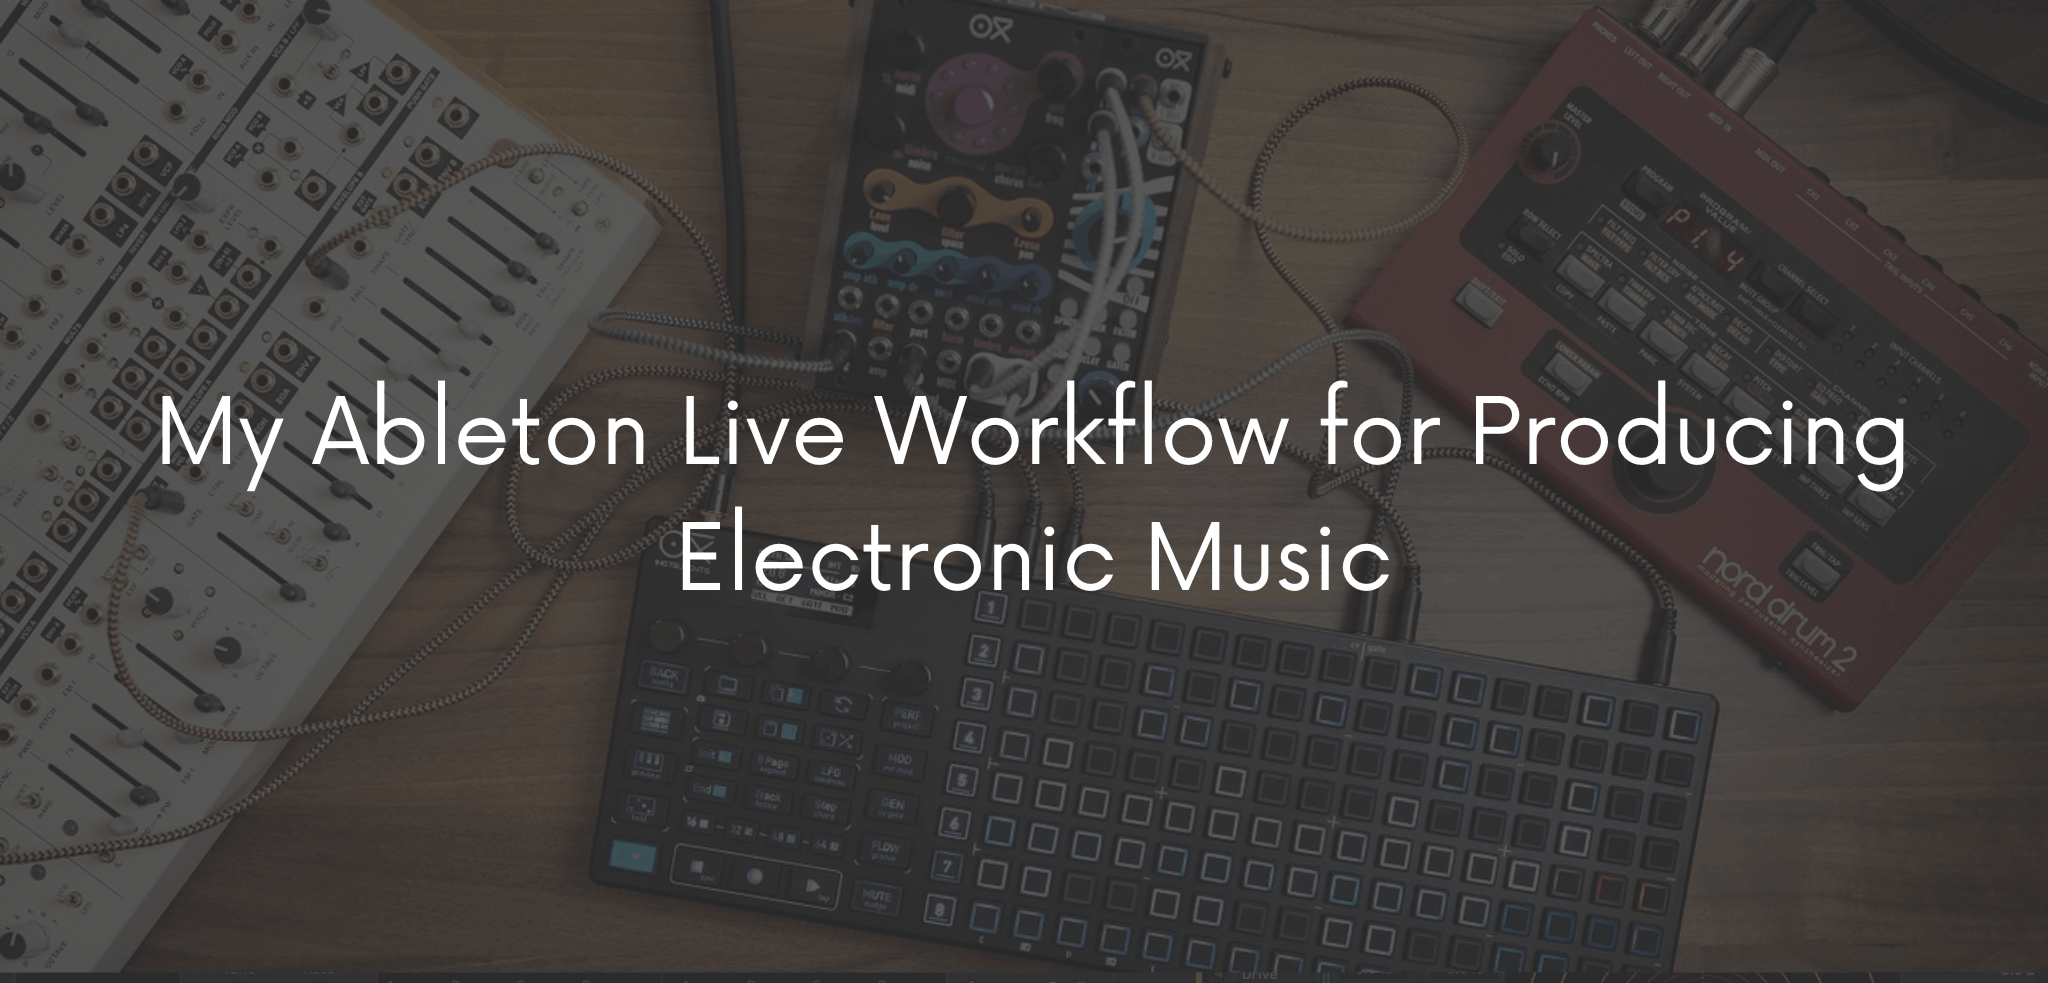
| Hardware sequencer (OXI ONE MKII) | External sequencing, non-quantized groove | Driving synths and drum machines with patterns independent from Ableton |
How I set up a new Ableton Live project
Every time I open Ableton Live to start a new track, I don’t start from scratch: I start from my template. In fact, this is one of the changes that has had the biggest impact on my workflow, because it lets me skip the “admin” part entirely and get straight to the creative one.
The template already contains:
- Starting BPM and key, which I change right away if the track heads somewhere else, but which still give me a starting point instead of a blank page.
- Routing and buses already connected: a drum bus, a bus for synths, and a master bus with the gain-staging chain I always use as a baseline.
- Return tracks ready with reverb, delay and a saturation bus, so I don’t have to rebuild them every time.
- Groups already named and color-coded, so I get an instant visual read on the project’s structure.
The track structure I use to stay organized
I name and color every track following the same logic every time, so whether I reopen a project after a day or after six months, I know exactly where I am:
- Drums — drums and percussion
- Bass — bass lines, both MIDI and recorded from hardware
- Synth — pads, leads, arps
- Samples — samples, field recordings, loops
- FX — transitions, risers, impacts
- Vocals — lead and ad-lib vocals
- Reference — reference track for A/B comparison
- Resampling — internal bounces that I then reshape into new material
This kind of organization also makes sidechain much simpler: with dedicated buses for drums and bass, I can apply sidechain compression to the whole bus instead of on every single track, saving time and keeping the mix more coherent.
From idea to loop: the creative phase
Every track starts differently. Sometimes I begin with a groove programmed directly on the OXI ONE MKII and then sampled into Ableton, other times with a bassline played on the MIDI controller, and sometimes with a field recording captured on the TP-7 that ends up becoming the underlying texture of the whole track.
Whatever the starting point, the first phase almost always happens in Session View. It’s the ideal space to experiment without pressure: I record different clips, try combinations across scenes, let two or three ideas loop while I try out a fourth. There’s no timeline forcing me to decide right away what comes before what — just the freedom to hear what actually works together.
I move to Arrangement View only once I have a core group of clips that genuinely convince me when played together: a groove, a harmonic element, a recognizable sonic identity. That’s when I start building the track’s structure — intro, build, drop, breakdown — by dragging clips onto the timeline.
The single most important piece of advice I can give you at this stage: don’t judge your first ideas too soon. The first hours of work on a track are for gathering material, not for producing a masterpiece. Critical judgment comes later, once you actually have enough elements to choose from.
How I record synths, instruments and samples
A huge part of my workflow revolves around recording — both MIDI and audio — from outboard hardware. It’s worth understanding the difference clearly:
- MIDI recording: you capture the notes played, not the sound itself. You can change instrument, octave or velocity after recording. Great for MIDI controllers and sequencers that talk to Ableton over MIDI.
- Audio recording: you capture the actual sound coming out of the synth or drum machine, passed through the audio interface. You can’t edit it at the note level afterward, but it carries the full character of the hardware.
Connection and levels
Every external synth or drum machine goes through the Arturia AudioFuse 8Pre, into a dedicated audio channel in Ableton. Before recording, I always check:
- Input level: I aim for a healthy signal, far from clipping but strong enough for a good signal-to-noise ratio.
- Background noise: especially with older analog hardware, you sometimes have to deal with hiss or hum — better to spot it before recording than to try fixing it afterward.
- Headroom: I always leave margin, because it’s much easier to raise a level that’s too low than to save a distorted signal.
A practical procedure for recording a sample in Ableton Live
- Create a new audio track and assign it to the correct interface input.
- Enable input monitoring so you can hear the signal in real time.
- Adjust the gain on the hardware or the interface until the level is clean, with no peaks in the red.
- Arm the track for recording.
- Record a bit more than you actually need, to leave room for editing.
- Stop recording and listen back right away before moving on.
- Trim the unnecessary parts and isolate the usable portion of the sample.
After recording: cleanup and cataloging
Once material is recorded, I trim it, clean up any unwanted noise, apply warp if it needs to follow the project’s tempo, normalize the level, and finally save it into a personal, organized library. Every field recording, every hardware take, every texture becomes part of an archive I reuse in later projects — often tracks are born from re-listening to old, forgotten samples.
My method for organizing samples and sounds
A disorganized sample library is one of the main enemies of creative speed. If it takes you five minutes just to find that kick you liked, you’ve already lost the momentum of the idea.
I use a fixed naming convention for every file:
BPM_Key_SoundType_Description_VersionFor example: 124_Am_Bass_SubGrind_v2. That way, just by looking at the file name in Ableton’s browser, I know right away whether a sample is compatible with the project I’m working on.
I also lean on Ableton Live’s built-in features to go beyond a simple folder hierarchy:
- Collections, to group samples by project or mood.
- Tags and colors, to quickly identify categories (drums, textures, field recordings, vocals).
- User Library, where I keep ready-to-use racks, presets and effect chains.
- Browser, which I use daily to search by name or type instead of manually digging through folders.
An organized library isn’t just about aesthetics: it cuts down on distractions, eliminates dead time, and lets you stay focused on the musical part of the job, not the filing part.
My tricks for speeding up the Ableton Live workflow
Here are the Ableton Live tips I use every day, which together make a huge difference in how much music I actually manage to finish:
- Keep updating your own template: every time you find a routing solution or an effect chain that works well, save it into the template.
- Learn keyboard shortcuts: it sounds trivial, but every second saved on the mouse is a second more you get to spend thinking about the music.
- Set up custom key mapping for the controls you use most, like play/stop for scenes or the volume of your main buses.
- Save your own Audio Effect Racks and Instrument Racks: every effect chain you’re happy with becomes a reusable asset.
- Use return tracks instead of duplicating the same plugin across dozens of tracks: you save CPU and keep the sound more coherent.
- Use resampling creatively: bounce the output of a loop of clips onto a new audio track and turn it into something completely different.
- Freeze and Flatten to lighten the project when CPU load gets heavy, and to lock a sound into its final form.
- Consolidate clips once you’re done editing them, to keep the timeline clean and readable.
- Save presets and effect chains with clear names, so you can find and reapply them in future projects.
- Use a reference track at a controlled volume, to compare your mix against professional tracks without fooling yourself about loudness differences.
- Take regular breaks to listen back with fresh ears: after hours of work, your ears get used to the sound and lose objectivity.
- Export project versions frequently, numbered, so you can always go back if a change doesn’t work out.
- Limit your sonic choices early on: fewer available options mean faster decisions and less time wasted comparing twenty different synths for the same role.
Common mistakes I try to avoid
Experience has taught me to recognize — and correct — a few mistakes that slow down any workflow, no matter how well structured:
- Starting a project without a sonic goal: opening Ableton “just to see what comes out” is fine once in a while, but if it’s your only approach, most projects will stay unfinished.
- Using too many plugins and too many layers: more elements don’t mean a better sound, they often just mean a messier mix.
- Mixing too early: balancing levels while the arrangement is still in its early stages leads to decisions you’ll end up redoing from scratch.
- Leaving tracks unnamed: “Audio 14” tells you nothing a week later.
- Recording with levels too hot: clipping during recording is almost always unrecoverable.
- Not backing up: losing a project to a technical issue is an experience you only need to have once to understand how important prevention is.
- Chasing the “perfect sound” before you have a good musical idea: you can spend hours picking a synth, but without a strong idea behind it, even the most polished sound stays empty.
Conclusion and next steps
There’s no universal Ableton Live workflow that works for every producer and every genre. Instead, there’s your workflow — the one you can actually keep up session after session without it becoming an obstacle. In fact, the method I’ve described in this article is the result of years of trial, adjustment and — yes — plenty of lost or abandoned projects along the way. So take what’s useful to you and adapt it to your own studio, your own genre, your own way of working.
I’d love to hear how you organize your own workflow — tell me in the comments below, I’m genuinely interested in comparing notes with other producers.
If you want to stay updated on my content, follow me on Instagram and YouTube, or listen to my music on Spotify. And if you’re thinking about a workshop, a setup consultation or a collaboration, you can get in touch here.
FAQ: Ableton Live workflow and electronic music production
1. How do I organize an Ableton Live project?
Start from a personal template with buses, return tracks and groups already set up, and keep a consistent track structure (drums, bass, synth, samples, FX, vocals) with clear names and colors. This cuts down the time you spend orienting yourself in the project and leaves you more energy for the creative part.
2. What’s the best workflow for producing techno or electronic music?
There’s no single best workflow in absolute terms, but an effective method usually starts in Session View to experiment with grooves and combinations. From there, it moves to Arrangement View only once you have a solid core of ideas, and relies on a personal template to speed up the technical side.
3. How do I record an external synth in Ableton Live?
First, connect the synth to your audio interface, then create a dedicated audio track assigned to that input and check your levels to avoid clipping, recording with some headroom to spare. You can record either the synth’s audio output or, if it responds to MIDI, the notes as MIDI data.
4. Should I start with drums, bass, or chords?
It depends on the track and on your inspiration at the moment — there’s no fixed rule. What matters is starting from an element that already gives you a rhythmic or harmonic identity to build on, and being willing to change it if the track heads in a different direction.
5. How do I create an effective Ableton Live template?
An effective template includes a starting BPM and key, routing and buses already connected, return tracks with the effects you use most, and a consistent, named and color-coded track structure. It should also be updated regularly, every time you find a new solution that works.
6. How many plugins do you really need to produce electronic music?
Far fewer than you’d think. In fact, a core set of EQ, compressor, reverb, delay and saturation, used well, produces better results than dozens of different plugins used superficially. As a result, limiting your choices also speeds up creative decisions.
7. How do I avoid leaving tracks unfinished in Ableton Live?
First, define a clear sonic goal before you start, avoid mixing too early, and export versions frequently so you don’t lose momentum. Finally, set a time or session limit after which you consciously decide whether to keep going or shelve the project.
8. How do I build a personal sample library?
Use a fixed naming convention (for example BPM_Key_SoundType_Description_Version), and take advantage of Ableton Live’s Collections, tags and User Library. Finally, catalog every field recording or hardware take right after cleaning it up, so it’s ready to reuse in future projects.